- Right Click Windows Start
 to open the menu.
 - At the search bar, type cmd and press Enter.
- In the command window, type ipconfig /all and press Enter.
- Under the Ethernet adapter Ethernet section, look for Physical Address (this is the Ethernet Address of your network card for making connection using a UTP LAN cable). The Ethernet Address consists of 12 characters without hyphens,
- To register your network card, login HKU Portal > type “ethernet” in the Search field > click Register Network Cards. (Note: The update will take 10 minutes to become effective. Each staff/student can register up to 5 network cards.)
- To obtain a new IP address from the DHCP server, type ipconfig /release and ipconfig /renew.
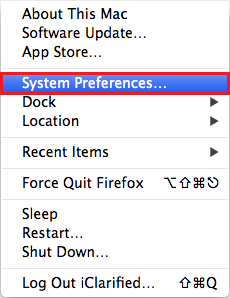
- Select System Preferences from the
 Apple menu at the top left of your screen.
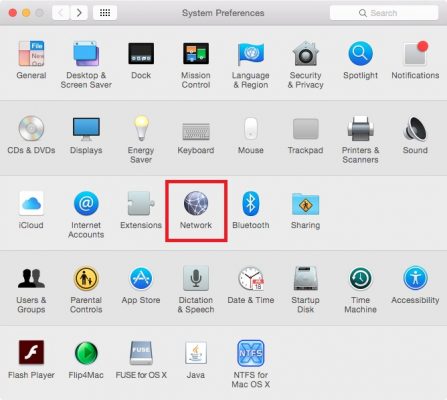
 - Click Network from the System Preferences menu.
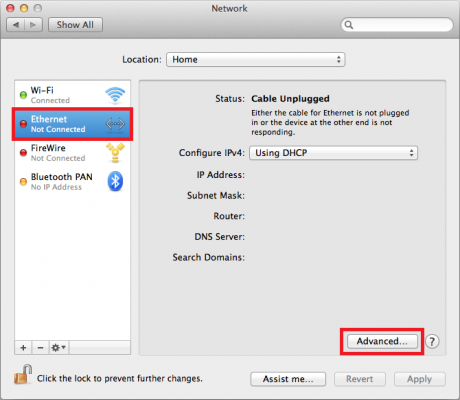
- Choose Ethernet from the list of interfaces on the left and click Advanced button.
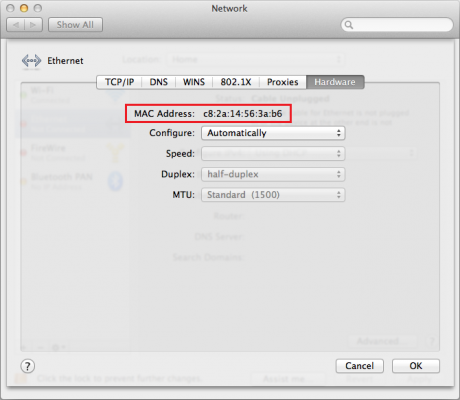
- Click the Hardware tab and you will see your MAC address.
- To register your network card, login HKU Portal > type “ethernet” in the Search field > click Register Network Cards. (Note: The update will take 10 minutes to become effective. Each staff/student can register up to 5 network cards.)