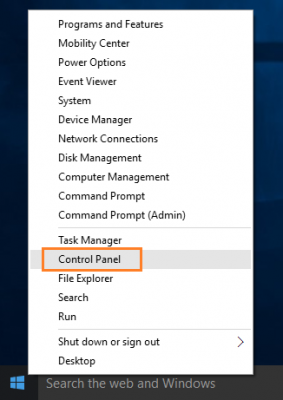
- Right click Windows Start button
 . Select Control Panel.
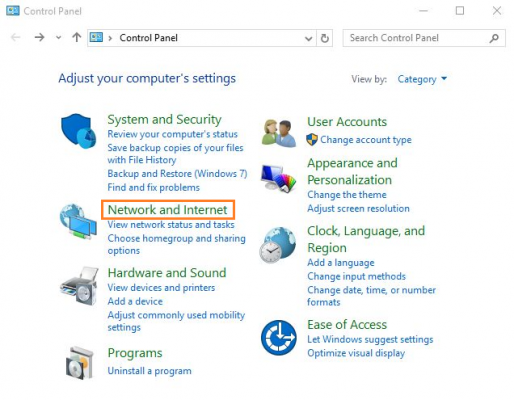
 - Click Network and Internet.
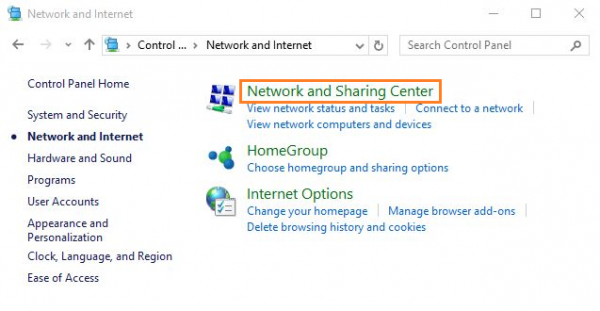
- Click Network and Sharing Center.
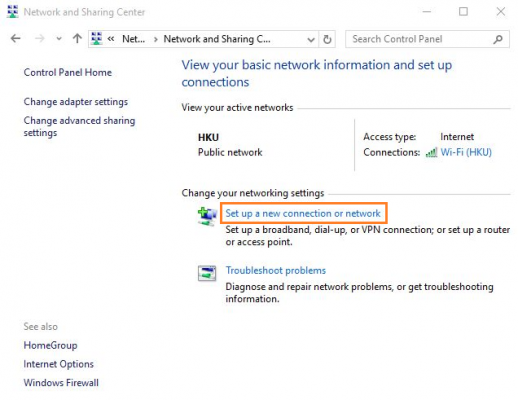
- Click Set up a new connection or network.
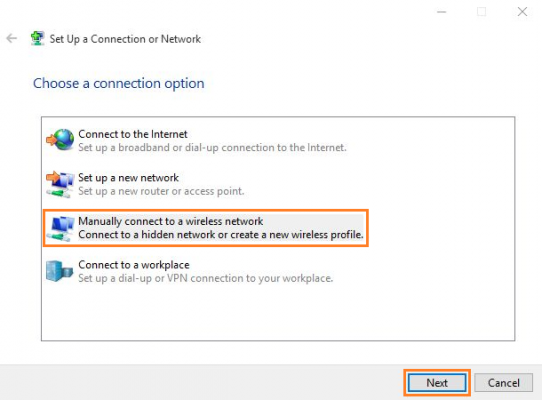
- Click Manually connect to a wireless network and choose Next.
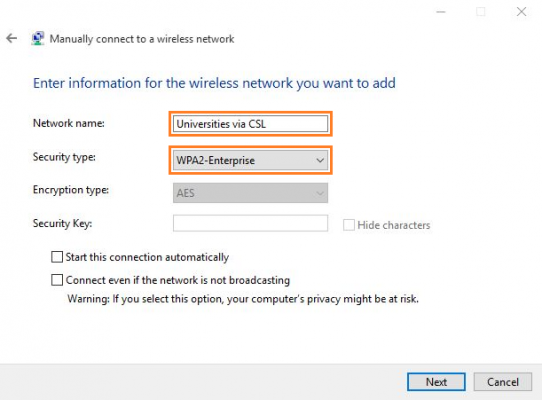
- In Manually connect to a wireless network,
- In Network name field: enter Universities via CSL;(Note: “Universities via CSL” is case-sensitive.)
- In Security type field: select WPA2-Enterprise;(Note: Both WPA-Entreprise and WPA2-Entreprise are supported in HKU. WPA-Entreprise may be more suitable or compatible for users of other Universities.)
- Click Next.
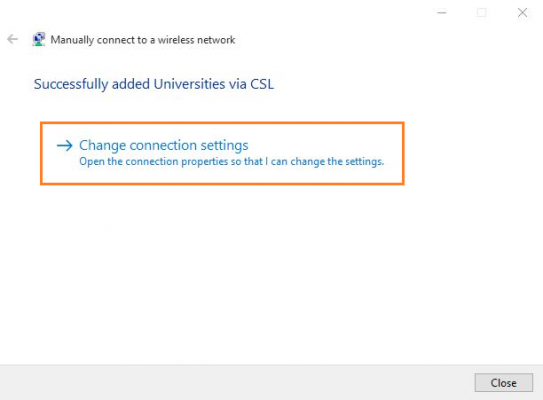
- Click Change connection settings.
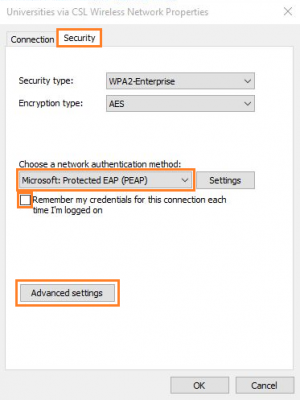
- In the “Universities via CSL” Wireless Network properties window,
- Under the Connection tab, un-check all boxes.

- Select Security tab.
- Under Choose a network authentication method, select Microsoft: Protected EAP (PEAP).
- Un-check Remember my credentials for this connection each time I’m logged on.
- Click Advanced Settings.
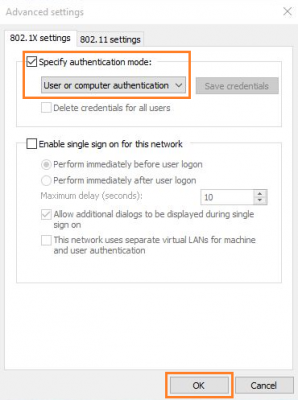
- In Advanced settings,
- Check Specify authentication mode: and select User or computer authentication.
- Click OK.
- In the Protected EAP Properties window,
- Check Verify the server’s identity by validating server certificate
- Check Connect to these servers and type 802.1x.hku.hk
- Check DigiCert Global Root CA
- Select Tell user if the server’s identity can’t be verified from Notifications before connecting drop down menu.
- Select Secured password (EAP-MSCHAP V2) from Select Authentication Method drop down menu.
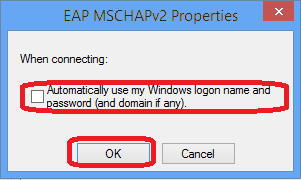
- Click Configure…
- Un-check Automaticlly use my Windows login name and password (and domain if any), click OK. Click Change connection settings.
- Click OK twice to close the pop-up box and click Close to finish.

- In Windows 10,
- Click Windows Start .
- Click Settings.
- Click Network and Internet.
- Select WiFi on the left pane.
- Select HKU and click Connect.

- In the “Sign in” window,
- For staff, please enter your username in the format of UID@hku.hk. For students, please enter your username in the format of UID@connect.hku.hk.
- Enter your HKU Portal PIN in the Password field.
- Click OK to logon.

- For first time login, you may see the message below. Click Connect to continue.

- Your computer should now connect to Universities via CSL.
