- Start Core FTP (download from http://www.coreftp.com/download.html (Core FTP LE 2.2 : free version)).
- In the Site Manager window, click New Site button. In the Site Name field, enter the remote system you intend to connect to (web.hku.hk in this example).
- Enter the remote system you intend to connect to in the Host/IP/URL field.Depending on the remote system you intend to connect to, the remote host server names are tabulated below:
Remote Server Purpose web.hku.hk personal websites hpc2015-file.hku.hk high performance computing cluster htclogin.hku.hk high throughput computing service For example, if your personal website is http://web.hku.hk/~yourUID, enter web.hku.hk in the Host/IP/URL field.
- Enter your account name (HKU Portal UID) in the Username field (you must have an account on the web host server).
- Enter your account password (HKU Portal PIN) in the Password field. Uncheck Don’t save password box.

- In the Connection drop-down menu, select SFTP/SSH.

- Click the Advanced button.
- Select Transfers.
- Check Do not use MDTM for date/time. Click OK.

- In the Site Manager window, click the Connect button.
- You will see a pop-up window as illustrated below. This is a feature of the SSH protocol. It is designed to protect you against a network attack known as “spoofing” – secretly redirecting your connection to a different computer in order to get your password. Click Yes to continue.

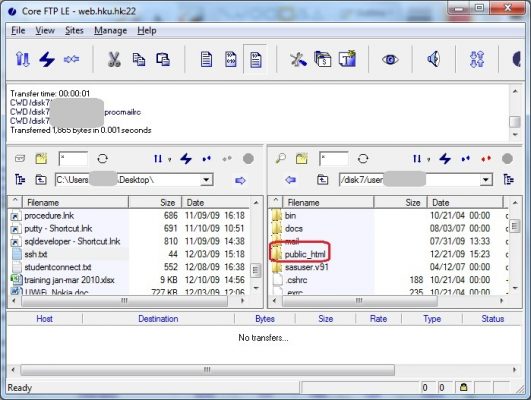
- In the Core FTP window, the local system (your PC) appears on the left window and the remote system appears on the right window.

- To upload a file from PC to server, choose your destination directory on the right window. For example, for personal web site on the server web.hku.hk, the directory name should be public_html.
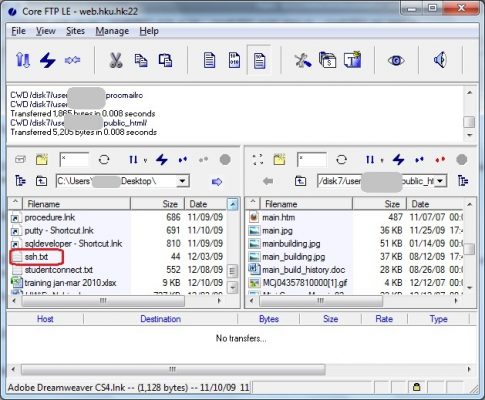
- Select the file you wish do upload in the left window.
- Click on the
 button in the left window to transfer the file to your web server’s directory. You will see a “transfer complete” message when Core FTP has finished transferring the files.
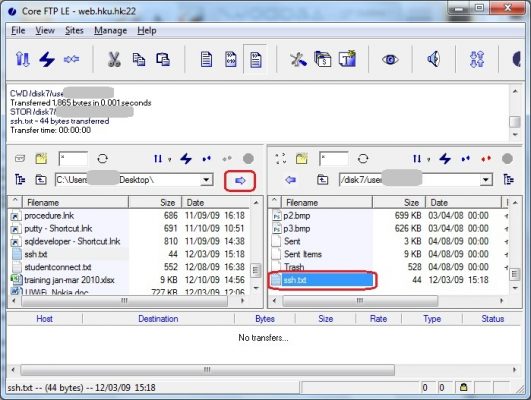
- To download a file from server to PC, browse the file you wish do download in the right window.
- Choose your destination directory in the right window e.g. Desktop.
- Select the files on the server using the mouse button.
- Click the button
 in the right window to transfer the file to your PC. You will see a “transfer complete” message when Core FTP has finished transferring the files.
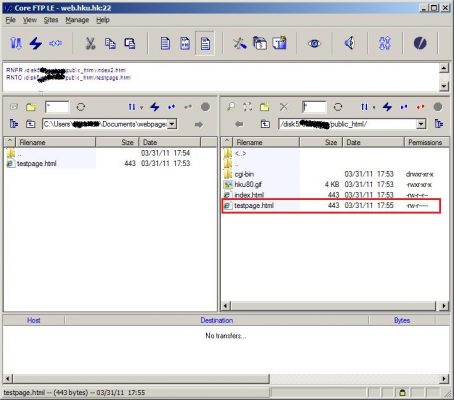
- Select the folder for hosting the web page e.g. ‘public_html’.
- Click to select the web page or web folder you wish to change its read/write permission.
- Right click the chosen file or folder and click Properties.
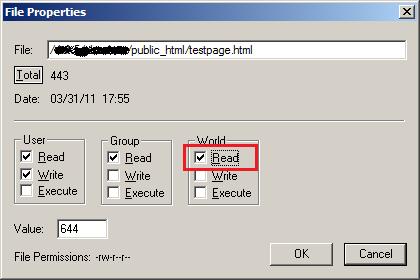
- The following popup window allows you to change the Read, Write and Execute permission by User (i.e. the login account user), Group and World (both Group and World means everyone). By default, the Read permission is for everyone. If you want to change the permission setting, you can tick/clear the appropriate box, e.g. unchecking the box Read under World and Group means not readable by everyone.
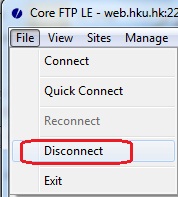
- To end your session, click File > Disconnect and Yes.
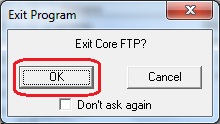
- To exit Core FTP, click the Exit button at the top right of the Core FTP Lite window and click OK.